
Hair
What is Indigo? How to apply Indigo?
Nov
Are you tired of using chemical-laden hair dyes that damage your hair and scalp? I know I was. That’s when I discovered the amazing benefits of indigo, a natural alternative for achieving stunning black hair without the use of harmful chemicals like paraphenylenediamine. Combining indigo with pure henna, I found a solution that not only dyed my hair beautifully but also covered those pesky gray hairs. In this blog post, I want to share my personal experience with indigo and guide you through the process of applying it for incredible results.
Let me start by explaining what indigo is and why it’s such a fantastic option for dyeing your hair naturally. Indigo is derived from the plant Indigofera tinctoria and has been used for centuries to achieve rich black and blue colors. Unlike commercial hair dyes, indigo doesn’t contain harsh chemicals that can strip and damage your hair. It’s a plant-based dye that offers a safer and healthier approach to coloring your hair.
Now, let’s dive into the process of applying indigo for beautiful black hair:
Step 1: Preparing the Henna Mixture
Now, let’s dive into the process of applying indigo for beautiful black hair. It all starts with preparing the henna mixture, which is the foundation for achieving stunning results.
I remember the excitement I felt as I gathered Zenia Henna and decided whether to mix it with lemon juice or warm water. Lemon juice is known to enhance the dye release process, while warm water can also work effectively. Whichever option you choose, make sure to mix the henna thoroughly until it forms a smooth paste.
The next step is crucial: allowing the henna mixture to sit for 2-4 hours. This waiting period is essential as it allows the henna to release its dye molecules and reach its full potential. It’s like waiting for a beautiful transformation to unfold.
During this time, I found it helpful to cover the henna paste with a cloth or plastic wrap to protect it from drying out. This ensures that the dye molecules are properly activated, resulting in a vibrant and long-lasting color.
As the hours passed, I could feel the anticipation building, knowing that the henna was becoming richer and more potent with each minute. The transformation was about to begin, and I was thrilled to see the results it would bring.
Remember, patience is key during this step. Allow the henna to work its magic as it prepares your hair for the indigo application. It’s worth the wait, I promise!
Step 2: Applying the Henna Paste
Wearing gloves to protect my hands, I applied the henna paste evenly, making sure to cover all my hair. It’s essential to be thorough and ensure that every strand is coated with the mixture. Once my hair was completely covered, I wrapped it with a shower cap and let it sit for 1 to 3 hours. It’s important to be cautious and prevent the henna paste from coming into contact with my skin to avoid any potential staining.
Step 3: Rinsing and Washing
After the recommended waiting time, I rinsed my hair thoroughly with water to remove any residual henna. To complete the process, I washed my hair using a mild shampoo. This step ensures that all the henna is removed and prepares my hair for the indigo application.
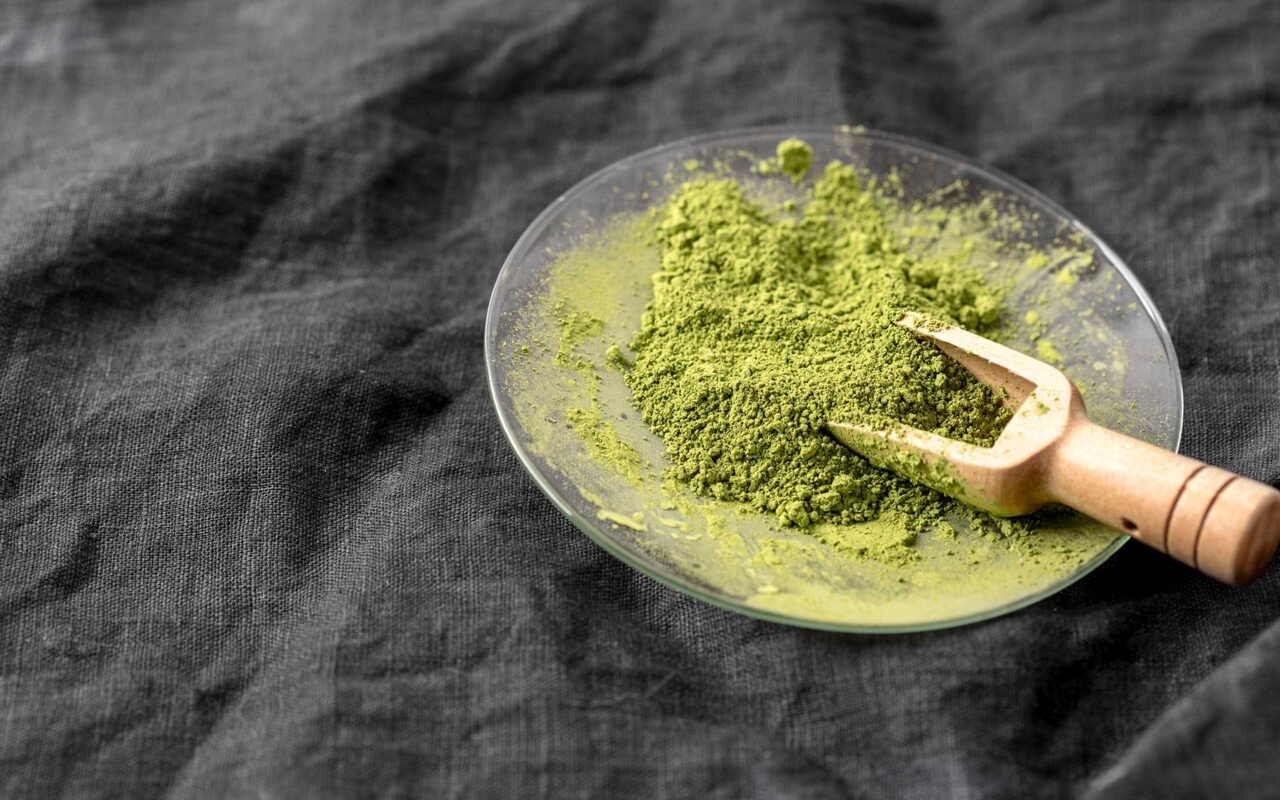
Step 4: Preparing the Indigo Mixture
Now it was time to prepare the indigo mixture. I mixed Zenia Indigo Powder with warm water or hot lemon juice, allowing it to sit for 10-15 minutes. If I wanted a darker result, I added a pinch of salt to the indigo paste. This little trick helps the indigo cling better to the hair strands and enhances the color intensity.
Step 5: Applying the Indigo Paste
Wearing gloves once again, I applied the indigo paste evenly throughout my hair, ensuring every strand was coated. I made sure to cover all areas and then wrapped my hair with a shower cap. The indigo paste needed to sit for 2 to 3 hours to achieve the desired results.
Step 6: Rinse Out the Paste
After the recommended time had passed, I rinsed my hair with water until the water ran clear. It’s essential to be thorough during this step to remove all traces of the indigo paste from my hair.
Step 7: Allowing for Color Development
I want to emphasize that the final color may take 1-2 days to fully develop. It’s important to be patient and give the color time to settle in. Additionally, keep in mind that the result may vary from person to person and depend on your hair’s existing color.
Determining the Amount of Indigo Needed
To ensure I had enough indigo for my hair length and thickness, I followed these general guidelines:
- For shoulder length hair: 100 grams of Zenia Indigo
- For hair longer than shoulder length: 150-200 grams of Zenia Indigo
- For hair up to waist length: 250-300 grams of Zenia Indigo
Alternatively, you can estimate by using 100 grams of indigo for every six inches of hair. If you have curly hair, you might need a bit more due to its density.
My journey with indigo has been truly transformative. I’ve bid farewell to harmful chemicals and embraced the natural beauty of indigo. The combination of henna and indigo has given me vibrant, glossy black hair while preserving the health of my hair and scalp. The color results have been amazing, and I couldn’t be happier with my decision to switch to natural hair dyeing methods.
So, if you’re looking for a natural alternative to traditional hair dyes, I highly recommend giving indigo a try. Experience the wonders of indigo and henna and unlock the beauty of stunning black hair without compromising your health. Embrace your individuality, and remember that your hair is unique, so color results may vary. Say goodbye to chemicals and hello to the natural magic of indigo!